How to Cook 3 Lb Baby Back Ribs
(Want to know how I meal plan a month in minutes? Here's how!)
Like so many lessons from the kitchen, I learned how to cook ribs in the oven by complete accident. Some time back in July, we had planned a big ol' grillout one weekend. And, just like every other time that we'd planned to grill, it had started to rain. Not that drizzle type rain you can ignore, but the kind of rain that will simultaneously put out the fire and everyone's enthusiasm. In fact, it actually swept away part of my driveway, which still has the potholes in it to prove just how miserable the weather really was! But since we already had everything we needed for a BBQ except, well, the BBQ, I was determined not to give up on my rib-tastic menu. So I did the only thing I could think of: threw the ribs in the oven!
This post contains affiliate links. Read what that means to you here.
Actually those ribs turned out pretty good, but they weren't as good as they could be. Not quite tender enough and a pretty unglamorous shade of gray. I'd averted a crisis – and hidden the color under BBQ sauce! – but I was determined to make these ribs better. Because why should we only be able to eat ribs in the summer? And what about those of us who don't have the luxury of a grill or grilling space? Apartment dwellers need ribs, too! So I set off on my rib-makin' mission! Come with me and learn how to make ribs in the oven… so you can have ribs, wherever you are!
How to prepare your ribs
First you'll need to bring them to room temperature or close enough, by taking them out of the refrigerator at least 30 minutes before you're planning to cook. Then you need to preheat the oven to 225F while you prepare the ribs. You need to remove the white membrane on the back of the ribs as it will get kind of tough and chewy if you leave it on. This is really easy to do!

See that white layer on the back of the bones? That's what we need to remove. Lay the ribs out on a large piece of aluminum foil.To get rid of the membrane, use a sharp knife and run it along a bone until you have made a little cut into the membrane. Then slide your knife into that hole, between the meat and the membrane, to widen it up. Then you need to slide your finger under the membrane and push up against it firmly. It will start to pull away from the meat. Keep widening that hole and pushing against the membrane until you are able to grab hold of it in your hand. It's much, much easier to grip if you use a paper towel! Then just pull the membrane up and away from the meat and it should come right off! Discard that and flip the ribs over so they are meat side up.
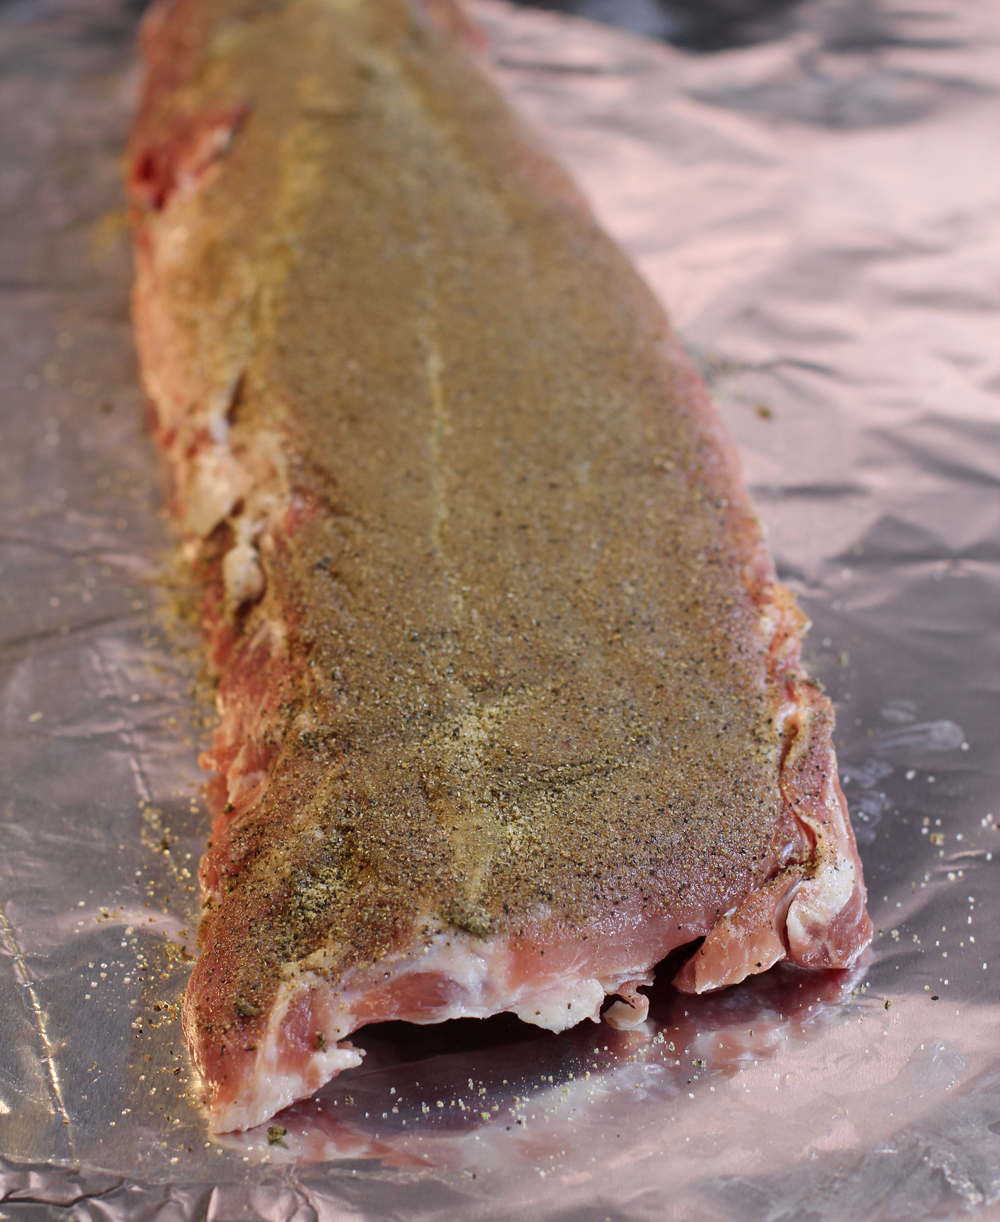
Pat the ribs dry and season with your favorite dry rub. My ribs are a little green because I like to use a mixture of dried sage, mustard and a little salt and pepper. Next, cut the rack of ribs into three evenly sized sections and arrange them in the middle of the foil. Fold three of the foil sides up over the ribs so that you have made a little pocket – pour some apple juice or stock into this and then seal it by folding over the fourth and last side of the foil. Now tightly wrap the whole thing in another layer of foil and place it on a baking tray: your ribs are ready for the oven!
How to cook ribs in the oven
This is even easier! We're going to slow cook them until they are super tender, all wrapped up. When the ribs are fork tender, all you need to do is remove them from the foil (save those juices for stock or soup later!) and put them on a baking tray. If your ribs are about 3 lbs, they'll take about 3 hours 15 minutes and a 4 lb rack will take closer to 4 1/2 hours. Roughly speaking, they need to have at least 1 hour in the oven per pound, with about 15 – 30 minutes extra to make sure they're super tender.
Then preheat the broiler on your oven while you use a BBQ mop to baste the ribs in whatever sauce you like. I usually make my own, but since I don't have access to a Whole Foods or similar for brands like Tessemae's, the best BBQ sauce I have found that is ready made is this one. It's gluten free, non GMO and doesn't contain either canola oil or high fructose corn syrup. Quite a few grocery stores seem to stock it and it's available on Amazon.
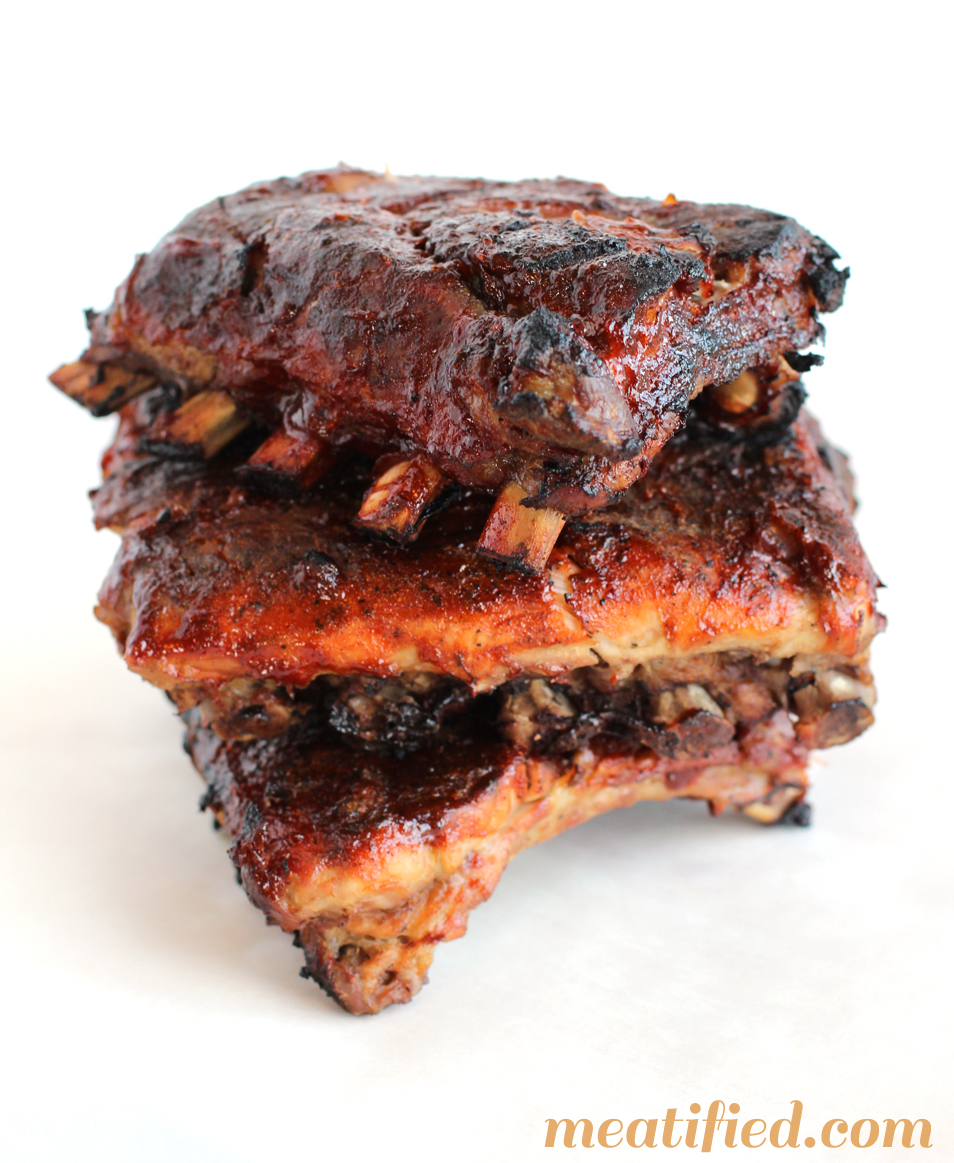
Once your ribs are basted up and your broiler is hot, get them under the broiler. You want to broil them until the BBQ sauce begins to bubble, brown & caramelize, but not for so long that it starts to blacken or burn. The more sugar there is in your BBQ sauce, the quicker that burning can happen, so don't leave the ribs unattended! Once they're broiled to perfection, tuck in!
A few quick notes:
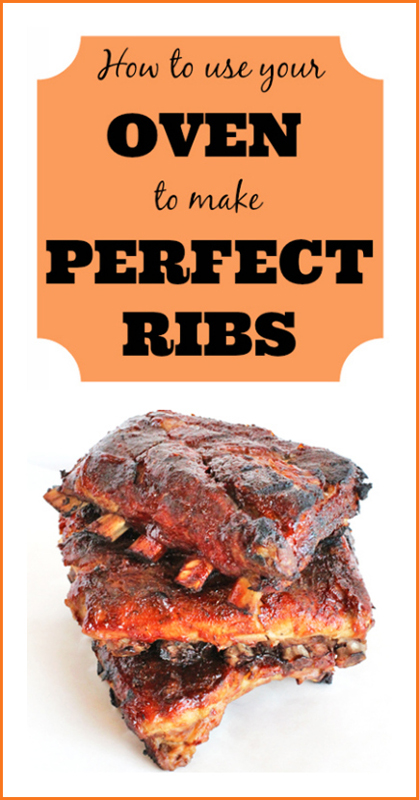
- I cut the ribs into thirds just because that makes them easier to handle later on when I'm basting and broiling. When they are laid out on the first layer of foil, just arrange them like they were a normal rack, in one layer, NOT like the picture of the final finished ribs which are stacked on top of each other.
- Lay the ribs out on the foil meat side up. This means that only the bone ends of the ribs are in the apple juice. We're basically steaming the ribs, we don't want them actually submerged in liquid while they're cooking.
- Make sure that the foil layers are tightly sealed and overlap each other. We're trying to keep the steam in there to keep the ribs tender.
Perfect Pork Ribs: How to cook ribs in the oven
Want fork-tender, fall off the bone ribs but you're unable to grill? Let me show you how to cook ribs in the oven the easy way!
- Prep Time: 5 minutes
- Cook Time: 4 hours 30 minutes
- Total Time: 4 hours 35 minutes
- 4 lbs pork ribs
- 4 tbl of your favorite dry rub
- 5 oz apple juice or stock
- BBQ sauce to taste (This is the best store bought sauce that I have found so far)
- Remove ribs from refrigerator at least 30 – 60 minutes before you are ready to cook.
- Preheat the oven to 225F.
- Flip the ribs so that they are laying meat side down on a cutting board.
- Use a sharp knife and slide it under the white membrane on the back of the ribs so that the knife is between the meat and membrane. Cut a hole into the membrane.
- Use your fingers to slide under the membrane and pull it away from the meat. If it is hard to hold onto, use a paper towel for extra grip. Remove all of the outer membrane and discard.
- Flip the ribs so that they are now meat side up. Pat them dry.
- Press the dry rub onto the ribs so that they are evenly coated.
- Cut the rack of ribs into thirds.
- On a large piece of foil, place the ribs meat side up in the middle. Fold over 3 sides of the foil to create a pocket: pour the apple juice into this pocket and then fold over and seal the 4th side.
- Tightly wrap the ribs again in a 2nd layer of foil and place on a baking tray.
- Cook for 4 – 4 1/2 hours. The ribs are ready when you can pierce them easily with a fork.
- Remove the ribs from the oven and preheat the broiler.
- Unwrap the ribs and place them on a baking tray, meat side up. Use a BBQ mop to baste the ribs with BBQ sauce.
- Place the ribs under the broiler and broil until the BBQ sauce sauce is bubbling and browning. Watch carefully so that they do not burn – the more sugar there is in the BBQ sauce, the quicker that will happen.
- Remove from the broiler and serve.
Psssst! If you're looking for an Autoimmune Protocol friendly version of this recipe, you should check out my all-AIP cookbook, Nourish!

This recipe for perfect oven baked ribs from Nourish: The Paleo Healing Cookbook is totally AIP, with a BBQ sauce that is totally nightshade free (no tomatoes, no peppers, no mustard!) and yet still tastes, looks and acts like "real" BBQ sauce.
Unlike fruit-based AIP BBQ sauces, you can use my Sweet & Tangy BBQ Sauce in place of your favorite BBQ sauce to make pulled pork, BBQ chicken, BBQ burgers and more!
As well as making a delicious condiment, it can be used on the grill, in the oven and under the broiler, too. There's a reason it's been nicknamed "awesomesauce"!
Check out Nourish: The Paleo Healing Cookbook here!
If you liked this post, click here to Pin it!
How to Cook 3 Lb Baby Back Ribs
Source: https://meatified.com/how-to-cook-ribs-in-the-oven/
0 Response to "How to Cook 3 Lb Baby Back Ribs"
Post a Comment